Ubuntu 20.04, after been in beta for almost 3 months, was finally rolled out via the stable channel. With the release, you’re probably thinking about making the upgrade to Ubuntu 20.04 yourself — but how do you do it? In this article, let’s see how you can upgrade to Ubuntu 20.04 from 18.04 or 19.10.
Why Upgrade To Ubuntu 20.04 LTS?
Before we jump start with the upgrading process, you must know what you get or why you should upgrade to Ubuntu 20.04. The Ubuntu 20.04 LTS Focal Fossa comes with a lot of new features and improvements. Some of them include;
- GNOME 3.36 with a new Dark Theme and Dark Mode, which is a lot faster now.
- Improved ZFS file system
- Upgraded Linux Kernel 5.2.0-21
- Polished Interface
- Ability to install Apps from Snaps
- Global Do not disturb mode
Thanks to Debian’s upgrade process, it should be relatively simple to upgrade to Ubuntu 20.04 LTS from both 18.04 and 19.10 (LTS and non-LTS channels). The Ubuntu 20.04 LTS will be supported for the next five years. We strongly suggest you take an entire backup of your system if you haven’t already as updates like these could sometimes render your computer useless.
ALSO READ: Top 5 Linux Distros That Offer Cutting Edge Updates [2020]
Upgrade To Ubuntu 20.04 From 19.10 Or 18.04
Method 1
Preparing The Distro For The Upgrade
Before upgrading the distro, it is essential to make sure that your system is up to date. To do this run the following commands in the terminal
$ sudo apt update
$ sudo apt upgrade
$ sudo apt dist-upgrade
The above commands will ensure that the difference in versions between the packages in the upgrade and the current packages remains minimum, which, in turn, makes the upgrade process a lot faster.
ALSO READ: 7 Best Free IDM Alternatives For Windows, Linux, and Mac
You should also consider removing the unused packages as they can have a significant impact on the speed of the upgrade. You can do it by executing the following command.
$ sudo apt autoremove
Going Through The Upgrade Process
To get started, install the update manager by entering the following command in the terminal.
$ sudo apt install update-manager-core
 After the above command finishes run the upgrade utility by typing
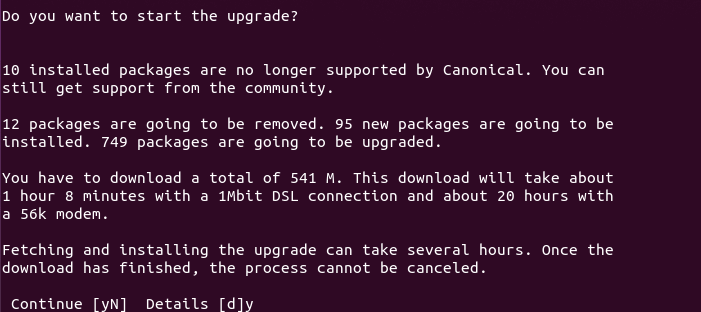
$ sudo do-release-upgrade
If it shows “No new release found,” try running the following command (after reading the paragraph written ahead!) else, go ahead and type “y” and press enter.
$ sudo do-release-upgrade -d
Mind you, by typing “-d” at the end, the distro will be upgraded to the latest “Developer” release, which might have bugs. Please try at your own risk.
Method 2
Upgrade To Ubuntu 20.04 LTS Via GUI
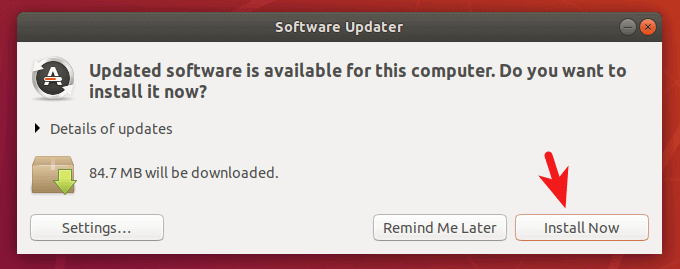
- First, fire up the software updater, check for updates and install them.

- Restart your computer, open up the terminal and enter the following command
update-manager -d

- The update manager will let you know if there’s any major release available. If there is one available, click on upgrade.

- Enter your password, click on upgrade, and follow the on-screen instructions, which will be quite self-explanatory.

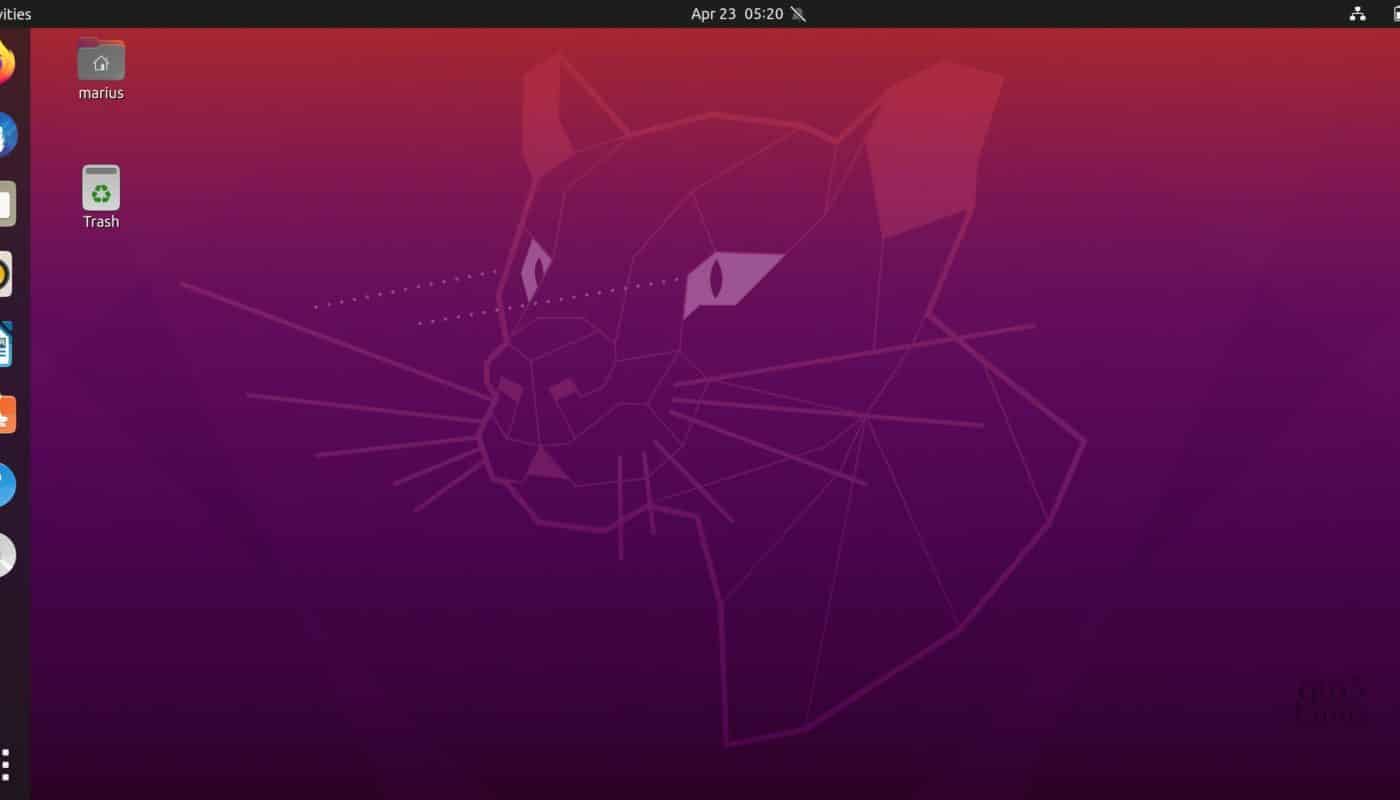
- Say hello! To the all-new Ubuntu 20.04 LTS Focal Fossa!
The update process is the same for the other Ubuntu flavors like Kubuntu, Lubuntu, etc. It is highly recommended that you plug in your AC adaptor before proceeding to upgrade.
ALSO READ: How To Remotely Control Linux From Windows [Step-By-Step]
If you face any problems during the installation, do let us know in the comments section below, and we’ll try addressing your issues to the best of our knowledge. If this article helped you, then do share it with those rare friends of yours who love using Ubuntu.


